Functional Fractals — Mandelbrot Set in F#
I’ve been a functional programming enthusiast for a while now and have been looking for something cool to write using a functional language. I also have a soft spot for fractals, particularly the Mandelbrot set, which most people should recognise. The Wikipedia article has some particularly beautiful images which I’ve often used as desktop backgrounds. I have two problems with the Wikipedia images though:
- They are not wide enough to use as a dual-monitor background.
- Though they are continously shaded, some colour banding is visible on subtle gradients.
I’ve toyed with rendering the Mandelbrot set before in Python, but this time I thought I’d write a more serious renderer in F#, capable of rendering beautiful images like those on Wikipedia. This way I can produce desktop backgrounds sized to my liking and learn more about F# in the process. As for the banding, a bit of Floyd-Steinberg dithering should take care of that.
The finished program, FMandel, is available on Github.
The Pictures
This would be a pretty boring blog post if I didn’t at least share some pretty fractal pictures. So, without further ado, here are a few cool renders made using my FMandel. They all have a resolution of 3200x1200, making them suitable for use as dual monitor backgrounds (if you happen to have two 1600x1200 monitors).


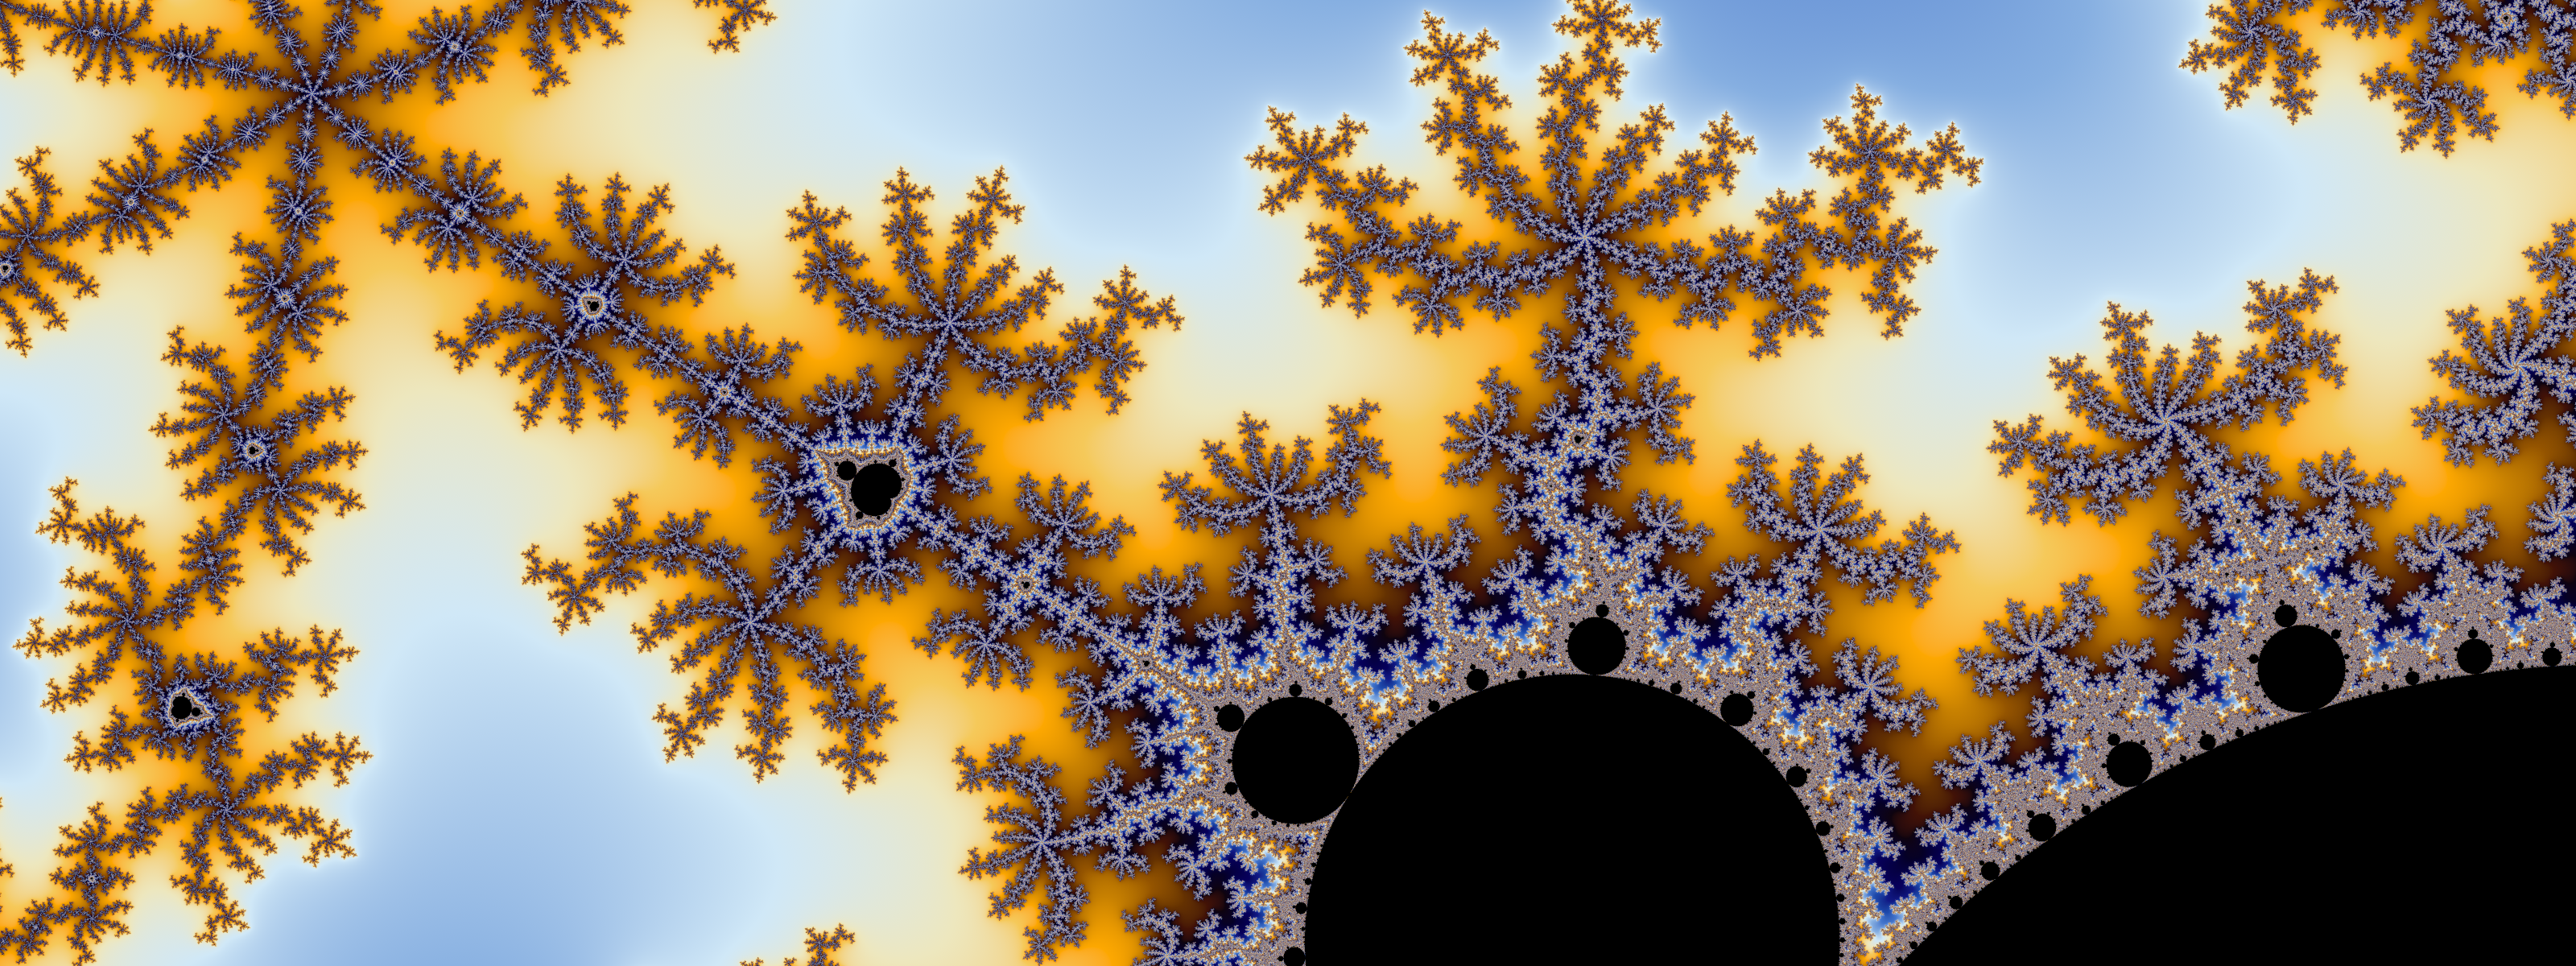

That’s all for now. Of course, if you want more, you can grab the binary from Github and render your own masterpieces!
Implementation Experience
F# is a pretty cool language. For the most part I was able to write the renderer in a completely functional style, breaking the components down into small modular functions that can be composed to achieve the desired behaviour. As expected, pattern matching and destructuring (of tuples) were pretty convenient features and the usual higher-order functional concepts made the code quite concise.
I did cheat when it came to Floyd-Steinberg and wrote an implementation that mutates its input array. It seemed like it would take some thought to write a non-mutating version of this algorithm while keeping it efficient. Tracking the quantization error only needs a fixed amount of space depending on the width of the image, so I think it would be plausable to write a stream-based version that operates on an infinite sequence of pixels. My first pass implementation worked fine, though, so I left this as a future exercise.
This kind of program fits easily into a functional programming model, since the program largely just takes some input and transforms it into a corresponding output. This made things quite easy for me, but it has left me wondering how well F# would do when writing an application with more internal state, such as an interactive GUI.
Since rendering just involves shading each pixel, my code looks very similar to a GPU pipeline. It would probably run a lot faster at higher depths as a CUDA or OpenCL program, leveraging the massive parallelism afforded by modern graphics chips. Interestingly, there seems to be a few options for GPU programming with F#. I haven’t had a chance to experiment with any yet. Looks pretty cool though!
Precision
I used the standard double-precision float data-type when working with the set.
This worked pretty well and allowed me to zoom in quite deeply
without any obvious precision errors.
I started seeing obvious problems at around 10-14,
which is just about at the edge of the range for doubles.
Any further and I would have to start looking at alternative data-types
that could support more precision,
such as the in-built decimal or a 3rd party BigRational type.
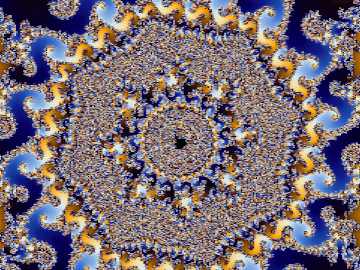
At extremely high magification (around 10-14), rendering suffers due to the limits of double-precision floating point. This results in pixelation of the image.
Windows Desktop Backgrounds
After spending so long writing a fractal program I was eager to generate a pretty desktop background to show off my accomplishment. Unfortunately I hit a bit of a snag when it came to actually set my desktop background in Windows. When setting a desktop background, Windows will automatically convert any non-JPEG image to JPEG and compress it a bunch in the process.
You can get around this problem by using Firefox to set the background, which presumably writes the image file directly to the correct location, skipping any trancoding step. You can also do the JPEG conversion yourself — Windows seems not to touch images that are already in JPEG format.
I use desktop slideshow to have my background change every day, so setting via Firefox wasn’t an option for me, since every time the slideshow changes the background, it transcodes the original source. I didn’t want to give up desktop slideshow, so the only option for me was to try to convert the images to JPEG without introducing too many artefacts.
I initially tried an old copy of Photoshop to do the conversion, but the banding came back pretty severely even at maximum settings, undoing all the work done by my dithering implementation. I then tried ImageMagick to convert to JPEG at 100% quality and it did a pretty good job. There were still some banding problems, but they were much more subtle than the compression artefacts produced by Photoshop. Of course, ImageMagick produced a larger file, so clearly Photoshop is still making a trade-off for a smaller output, but in this case only quality was important.

A comparison of image quality on a small portion of a Mandelbrot image before and after JPEG compression of the whole image. Left is the original, centre is compressed by Photoshop CS3 at quality 12, right is compressed by ImageMagick 6.8.9-8 at 100% quality. The samples have been magnified and the colours exaggerated to make the differences easier to see.
Performance
Performance of the code was pretty decent before any optimizations. One thing I did find was that occasionally I would write some new code, and suddenly the program would run quite significantly slower for no clear reason. I think this was to do with accidentally causing a lot of allocations or boxing/unboxing — in any case, rewriting the code in a different way usually got rid of this.
I tried using Array.Parallel.init
to render the pixels in parallel,
hoping to take advantage of multiple CPU cores.
This did cause the program to go faster
and use a greater percentage of my CPU,
but it didn’t go much above about 50% utilization.
After profiling it seemed like this was because my program
was making a large number of allocations
and blocking due to contention for the garbage collector.
Also, it seemed to make a lot of threads
where I only really wanted one for each CPU.
I spent some time trying to remove this pressure,
but I didn’t get very far.
One of the things that really killed performance
was repeated boxing/unboxing in the core Mandelbrot function.
I had originally implemented the iterative computation
as an infinite sequence using Seq.unfold,
but this turned out to be quite slow.
The problem is, Seq.unfold requires the generator
to return an option type. Some
indicates that the sequence keeps going
and None indicates that there are no more elements.
Since the sequence I implemented really is infinite,
I didn’t need this,
but my program still had to box/unbox from option
after every iteration.
After rewriting this part of the code
as a more low-level recursive function,
performance improved noticably when using a high number of iterations.
I couldn’t really get it to go much faster after this.
My code still doesn’t fully utilize a multi-core CPU
unless you crank up
the number of Mandelbrot iterations,
which I believe is still due to contention issues between threads.
Replacing Array.Parallel.init with something else might help,
but that will have to wait for a future visit.
Closing Remarks
This was a pretty fun project and I got some good images out of it. I’ve learned some things about F# and .NET which will hopefully be useful to me in future projects. I’ve also learned some things about Windows and image compression that I probably didn’t want to, but there’s no going back now! Most of all I learned a lot more about graphics, the Mandelbrot set and techniques for colouring it, which will help if I ever do any more graphics projects.
Thanks for reading! I hope that this post was interesting and might encourage you to learn more about functional programming or the Mandelbrot set. See you next time for more programming adventures!